Table of Contents
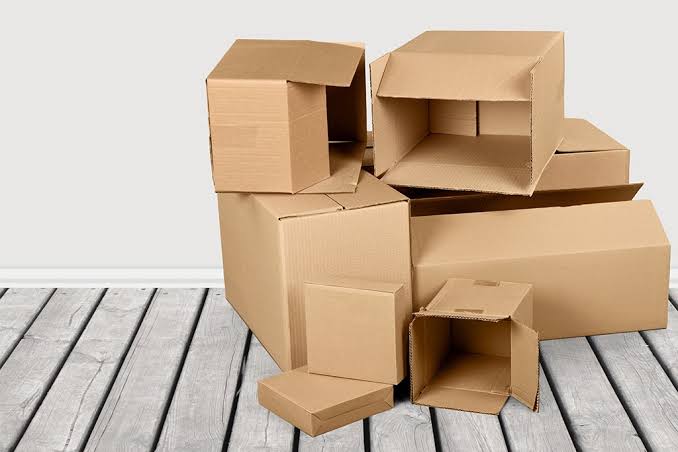
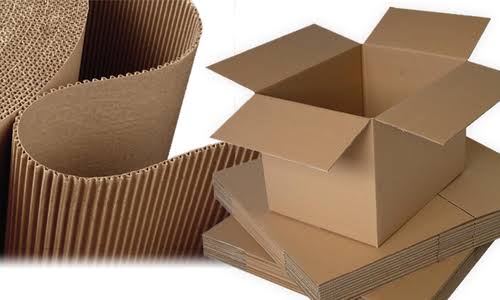
Regardless of whether you are shipping Christmas gifts or supplanting an old Scrabble box, there is no convincing reason to burn through money on pre-fabricated boxes. You could assemble or amass cardboard you have lying around into boxes the ideal size for the project or venture. Corrugated cardboard is the finest decision for putting away substantial items or sending something through the email.
Making a Cardboard Box
Select the cardboard.
The cereal box side could make a little box for house use. Utilize corrugated cardboard for the sturdier venture, or make a bigger, decorative and ornamental box from the cardstock or scrapbooking paper. In case you have a particular box size at the top of the priority list, cut or slice the cardboard in order to fit:
- A cardboard piece makes a square box alongside sides ¼ the first original length. For instance, a 12-inch-long cardboard piece will actually make a box of 3″x 3″.
- The cardboard width structures the base, height, as well as box top. For instance, in case that you need to make a box of 3,” x 3″ out of a 12″ x 9″ cardboard pieces, you will utilize 3 inches of the width to frame the top and base, as well as the remaining 6 inches will form the box height.
Decorate whenever desired and wanted
It is simpler to decorate and beautify the box before you begin folding as well as cutting. One simple approach to do this is to utilize a wrapping paper piece regarding (1.25 cm) ½” bigger and larger than the cardboard on all of the sides. Paste this on the cardboard alongside solid glue or paste; at that point, overlay over the edges or ends of the wrapping paper plus paste them on the opposite side.
Draw a line near one of the cardboard edges
This structure a little “glue or stick flap” that you will later overlay over as well as glue or stick down in order to help keep the 4 sides together. The flap of the glue be as wide as per (5 cm) two inches for a huge delivery box, or about (6mm) ¼” for a little art venture.
Divide or separate the rest of the length into 4 segments
Utilize a ruler to measure or quantify the cardboard length, overlooking the glue or paste flap. Imprint it at every ¼ of the length; at that point, utilize the ruler as per a straightedge in order to draw the parallel lines all through these marks. This must divide or split the cardboard into 4 equivalent areas, that will frame the Gift Box four sides.
- In case you need a rectangular Gift Box rather than a square one, utilize segments alongside two different and unique measurements. For instance, to make a box of 4″ x 2″, split the cardboard between a 4-inch section, a 2-inch section, another 4-inch section, plus another 2-inch section, in a specific order.
Score the lines in the case that utilizing thick cardboard
Spot the ruler alongside the lines you simply drew as well as press along with them in order to make them simpler to fold. Utilize a utility blade for additional thick material, for example, corrugated cardboard, utilizing lightweight as it were. Utilize an empty ballpoint pen or a bone folder for the material of medium-weight, for example, poster board.
Bend or curve the sides
Fold or overlay the sides internal from the two ends in order to frame a stack, at that point, unfold. This wrinkles the paper for simpler folding later.
Turn or bend the thick material; thus, the cut score is outward of the box. You could bend or twist medium-weight material in any case.
Perpendicular draw the flaps to the sides
Divide and split the length of 1 box side (the stance amid 2 lines) by 2. Measure this specific distance from the cardboard’s one edge as well as draw a width-wise line now, running into the lines that you folded. Measure the similar distance beginning from the contrary opposite edge plus draw the 2nd line.
- For instance, in case that you are creating a Gift Box of 3″ x 3″, divide 3 inches by 2 in order to get 1.5 inches. Arrange and organize the paper; thus, the wrinkled lines run vertically. Now, draw 1 horizontal line of 1.5 inches from the bottom edge, plus a 2nd horizontal line 1.5 inch from the top.
- In case that the box isn’t square, you could utilize either the box side for this calculation or computation. Utilizing the longer side will provide the box a sturdier top and base. Utilizing the shorter side will actually make a taller, however weaker and more fragile box.
Cut each of the flaps
Cut alongside the vertical “side” lines till you hit the flat horizontal lines of the “flip.” This must leave you alongside 4 flips or folds along the top as well as 4 along the bottom.
- Score plus crease these as in the past if utilizing thick cardboard.
Tape and fold the 4 sides together
Twist the 4 sides to shape the box frame. Fold the flap of narrow glue over the side edge as well as glue or tape it down.
Fold the Gift box’s base
Fold the flaps on 1 side together; thus, every one covers the flap beside it. Strengthen this base alongside tape.
- In case that you are putting away lightweight items, you could simply close the folds together, deprived of attempting to fold them into place. Strengthen this simple fold alongside tape within just as the outside, to keep the folds from poking up.
Tuck or fold the top folds altogether
Tape the top too in case that you are creating a decorative Custom Box, or in case that you have put somewhat inside for delivery. Something else, simply leave them tucked altogether for simple opening.
